
API
Where to find our API documentation
Our public API documentation and developer platform are available here:
https://corma.apidocumentation.com/api-v1/guides/authentication
How to generate your API key
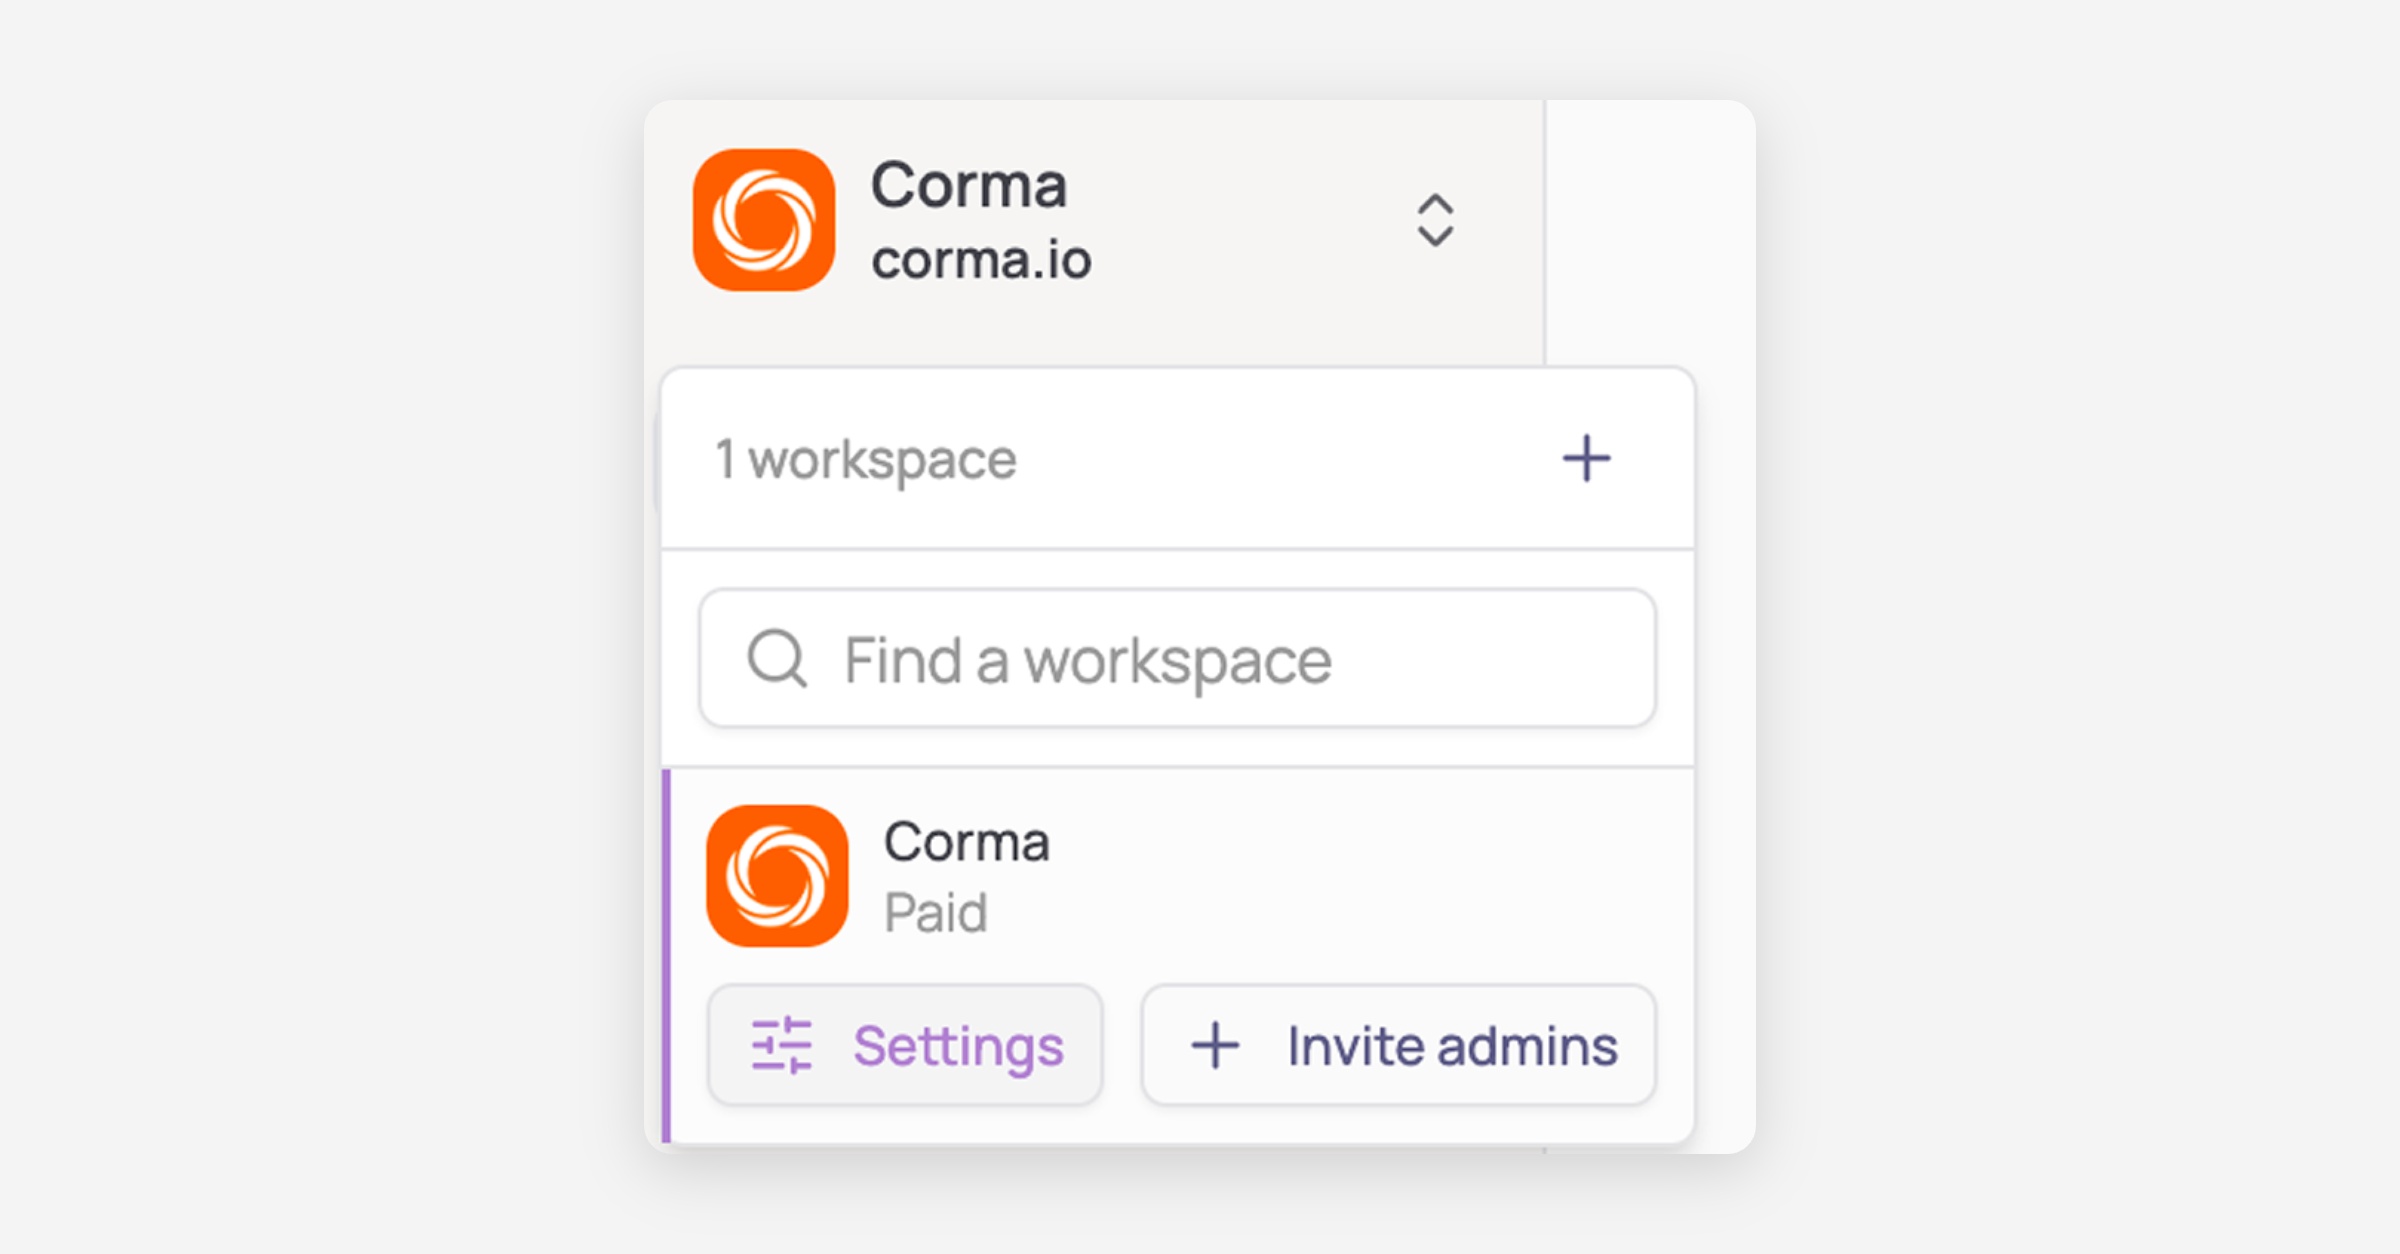
Go to Settings > API in Corma.
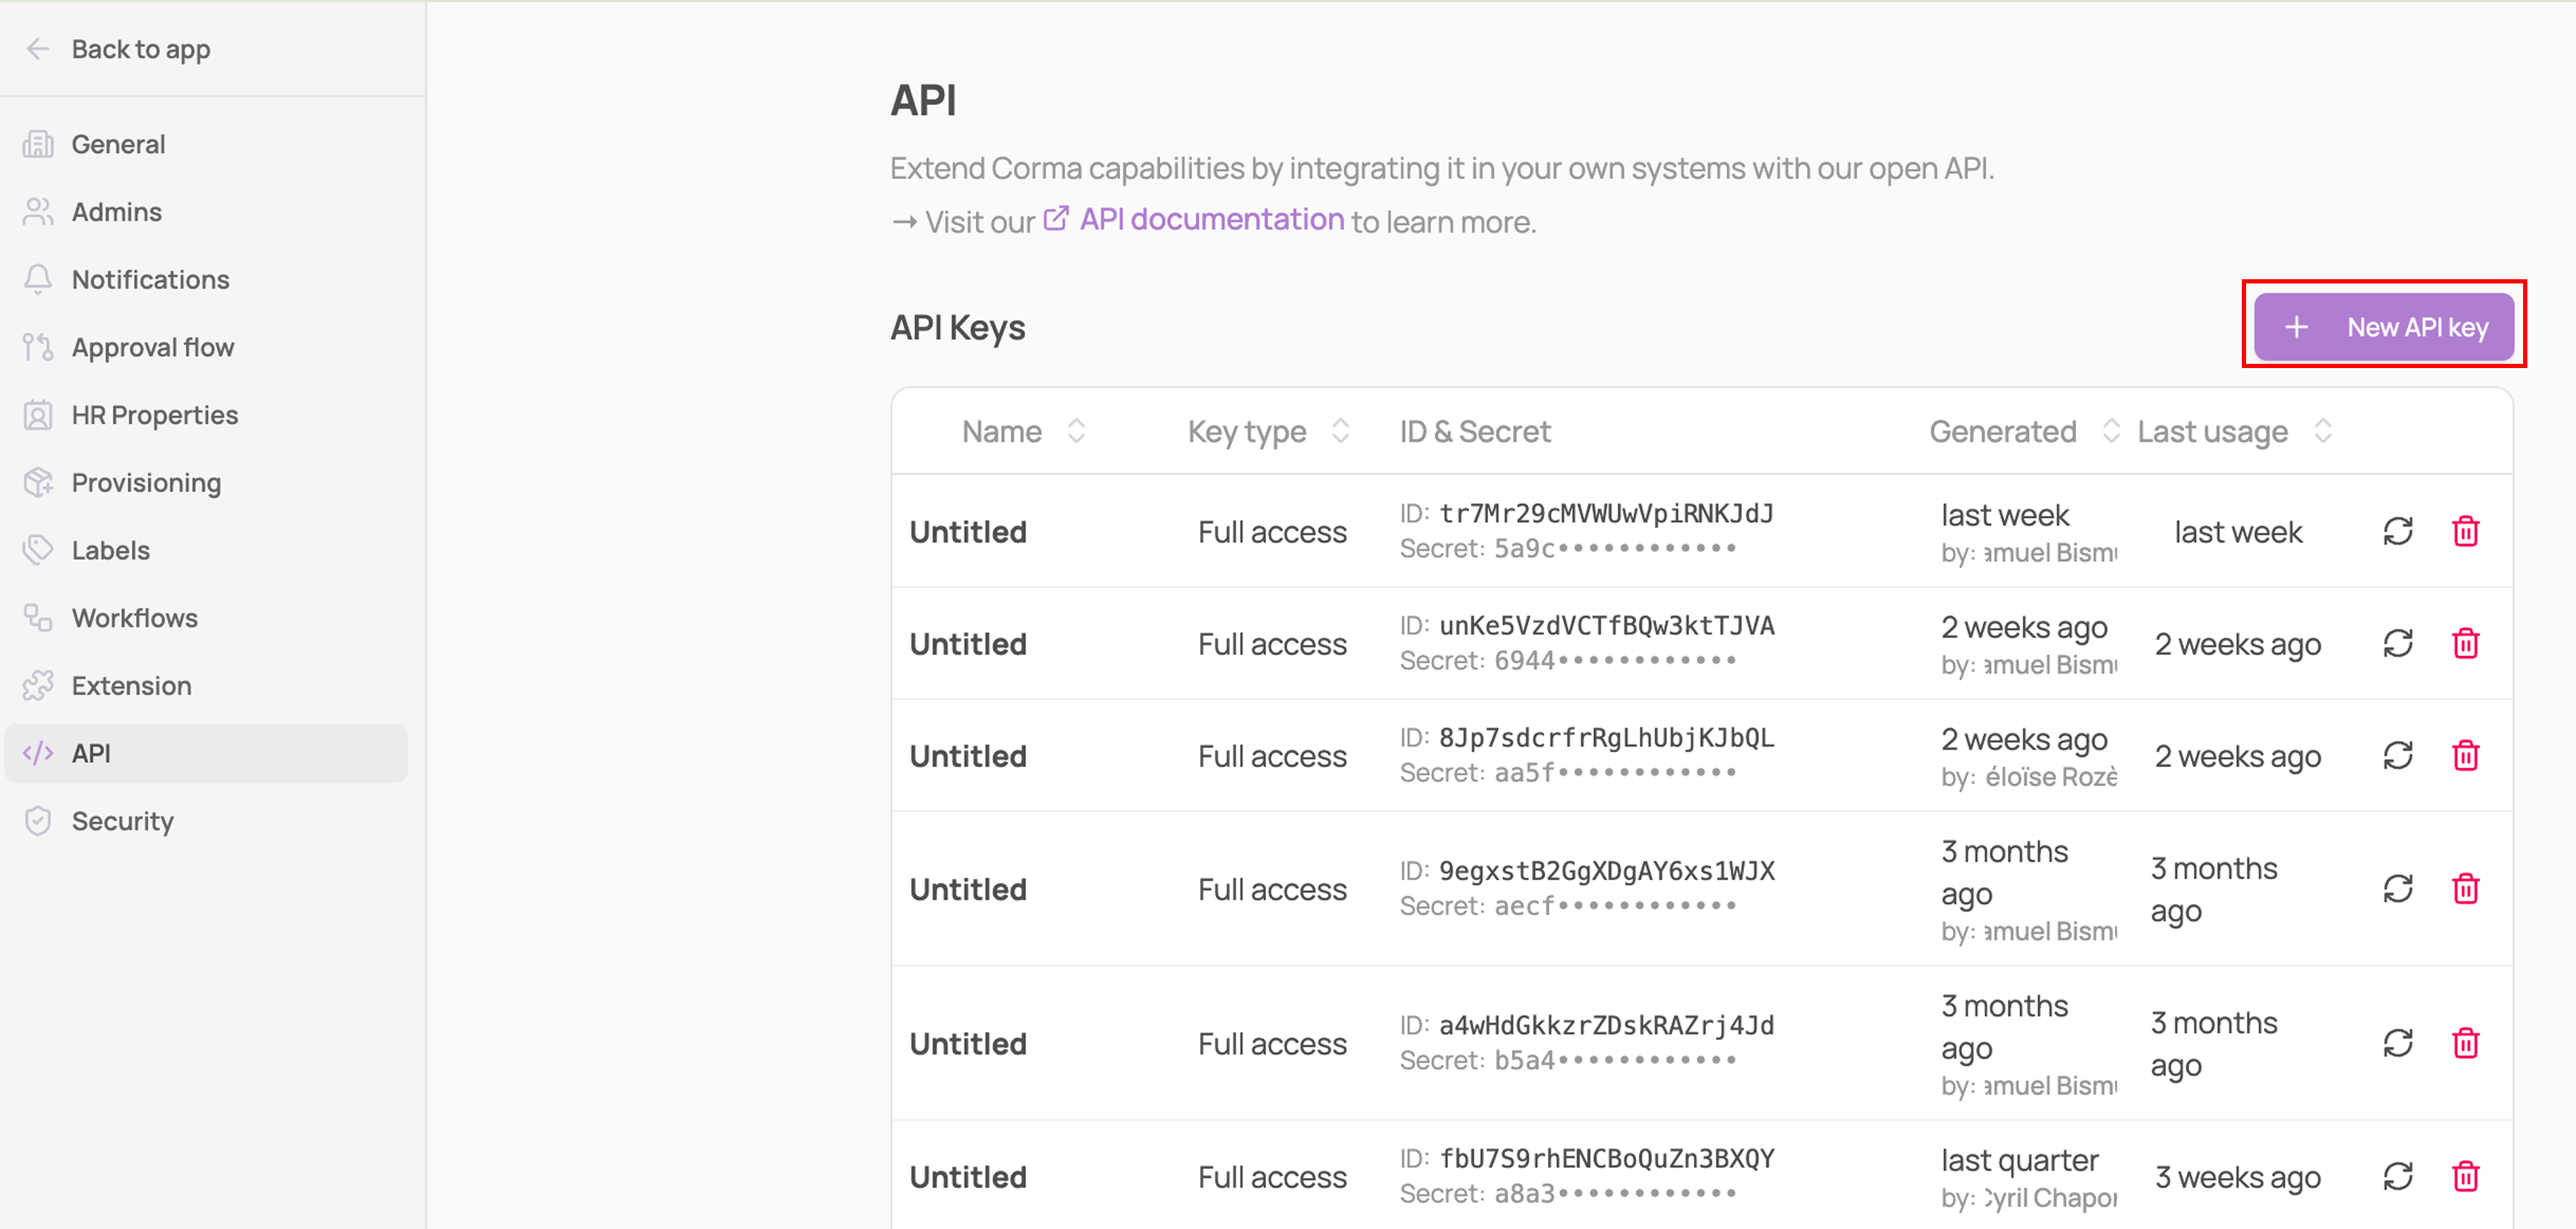
Click "+ New API key" above the table, on the right.
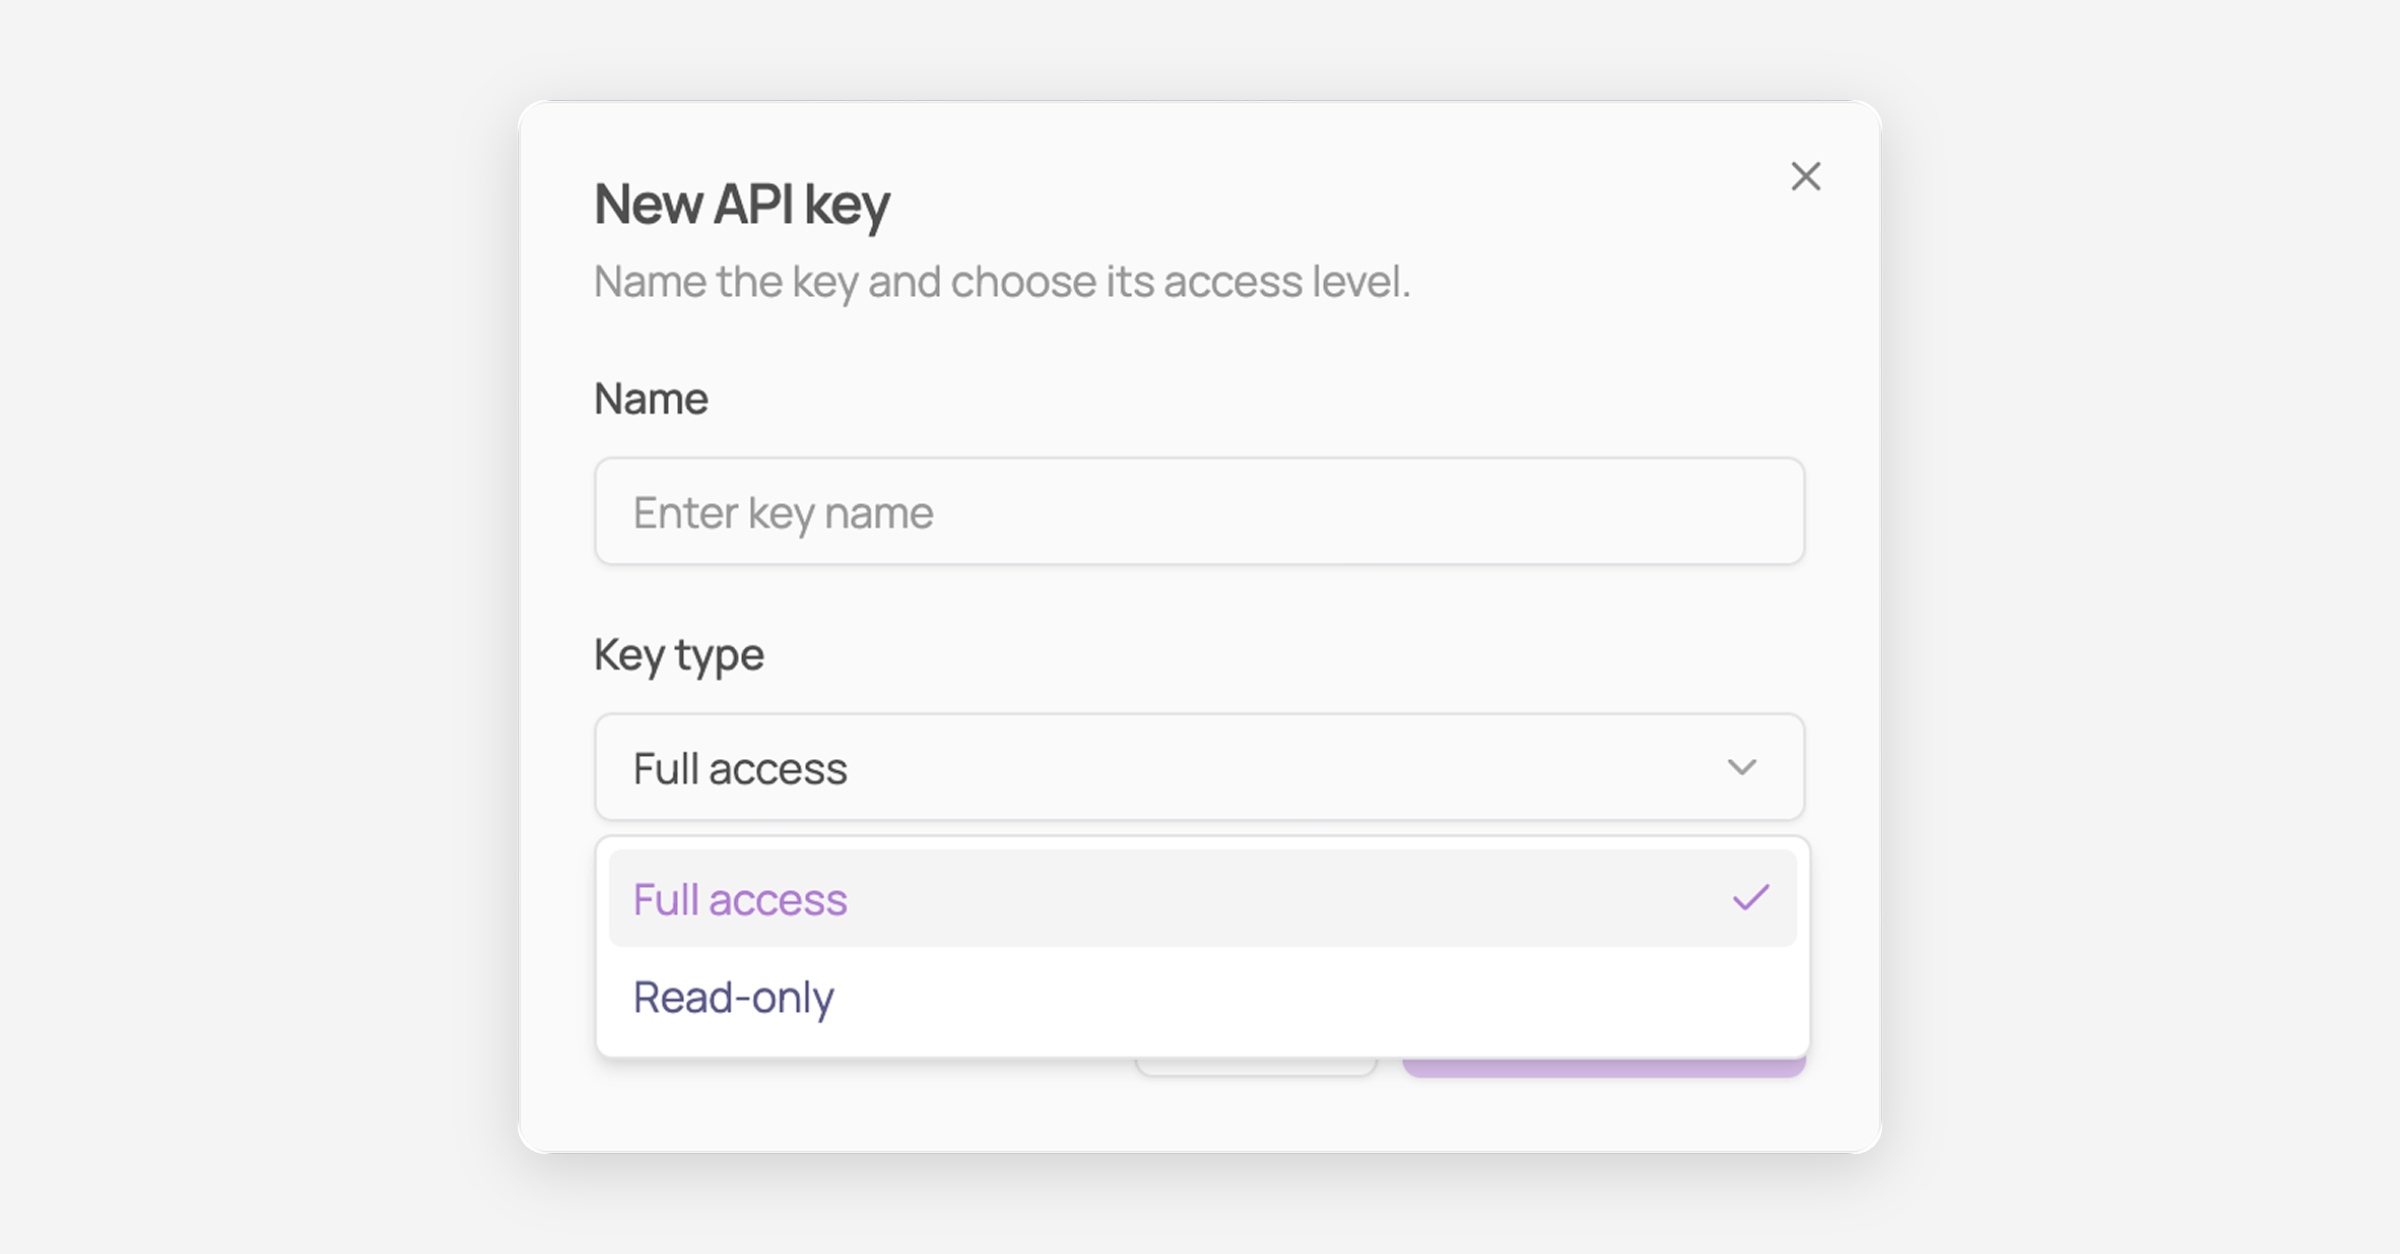
Name your key so you can identify what it is used for later. The name appears in the API keys table.
Choose the key type: Full access (selected by default) or Read-only.
Click "Create new key."
Copy your Client ID and Client Secret. They are shown only once, so store them somewhere safe before closing the modal.
You're all set! To see how to authenticate with your set of Client ID + Client Secret, check out our documentation linked at the top of this tutorial.
Key types
Each API key carries a type, visible in the Key type column of the API keys table:
Key type | What it can do |
|---|---|
Full access | Can call every endpoint of the public API, including creating, editing, and deleting data. |
Read-only | Can call |
Read-only keys are useful when you need to share access with a third party for monitoring or reporting, for example letting a parent company audit your user list without being able to change it.
The API keys table also shows a Name column as its leftmost column, so you can tell your keys apart at a glance.
Can granular access controls be applied to APIs?
Partially. You can create a key as Read-only, which limits it to GET endpoints, or as Full access, which has all permissions on every public API endpoint. Beyond that split, no per-endpoint or per-resource roles and scopes can be applied to API keys today.
Was this helpful?